
I found another inspiring video on you-tube showing how to make an envelope journal (here's the link: Easy Envelope Journal). What a cute idea. I have a stash that's been in the shed for years, it's like it was meant to be!
For this project you'll need six envelopes and their corresponding cards. I used Rubber Cement for my glue (If I had it to do over I'd use Aileen's tacky glue or even double sided tape but I was too lazy to walk upstairs and get it).

The first thing I did was take two of my envelopes and cut the edge off opposite the flap.

Then I took all six of my envelopes, paired them up and glued the flaps together. If you have triangular flaps cut them off to resemble what you see below. (Now, if you watched the you-tube video I mentioned above you'll notice I didn't follow her directions, I just went for it.)

This is what you'll have.

I glued the flaps into the fold of the first pair of envelopes.

Then, glued my last piece in on the opposite side. Giving me what you see below with the front and back having a "pocket" from our first step of cutting the envelopes open.

I left it open and let it dry a little bit before installing some of the cards.
When you lay out your envelopes you'll notice some of the pages are the outside while others are the inner portion of the envelope with the flap showing. You can place your cards on any page you want but I glued them over the flap side to clean it up a little bit.

I ended up only adding five of the cards. I made some of them to look like regular pages while others open into a portfolio of sorts. Here's a run through of what my book looks like, with a total of sixteen pages (counting the portfolio as only page 1 and 2).
Page 1 & 2, the card back is glued to the envelope and they open from the center.

Like this:


Page 5 & 6, this is where I decided to not use one of my cards. Once I begin to decorate up the book I'll add something different here (a pocket of some sort).

Page 7 & 8, the inside of the greeting card from above.

Page 9 & 10, the outside of the envelopes (there's a card glued to the other side of the left page).

Page 11 & 12, you're looking at the inside of a greeting card that's been glued to the envelope on the left side.

Page 13 & 14, this is the backside of the above card and the front of the next page, also a greeting card glued to the envelope.

Page 15 & 16, the inside of the card shown above. This card has been glued to the final envelope that has the pocket.

Here's the pocket on the back of the journal....

and here's the one from the front.

Well there you have it, an envelope and greeting card journal. I still want to do a lot of jazzin' it up on the interior. I didn't pay attention to how hers turned out on the you-tube video I mentioned above but mine juts out a little bit in the center, probably from how I glued my pages in (did hers do that? I might have to watch that video again and see what her final product does). I'm thinking I'll make a cover for it.
So, cereal box it is. I used my journal to trace out the size of cereal box I need (I made it a little bigger).

I gently folded it over to get my shape. I didn't do any creasing or making a spine of any kind, just a simple fold (I'll be using glue to attach it to my book, no fancy binding).

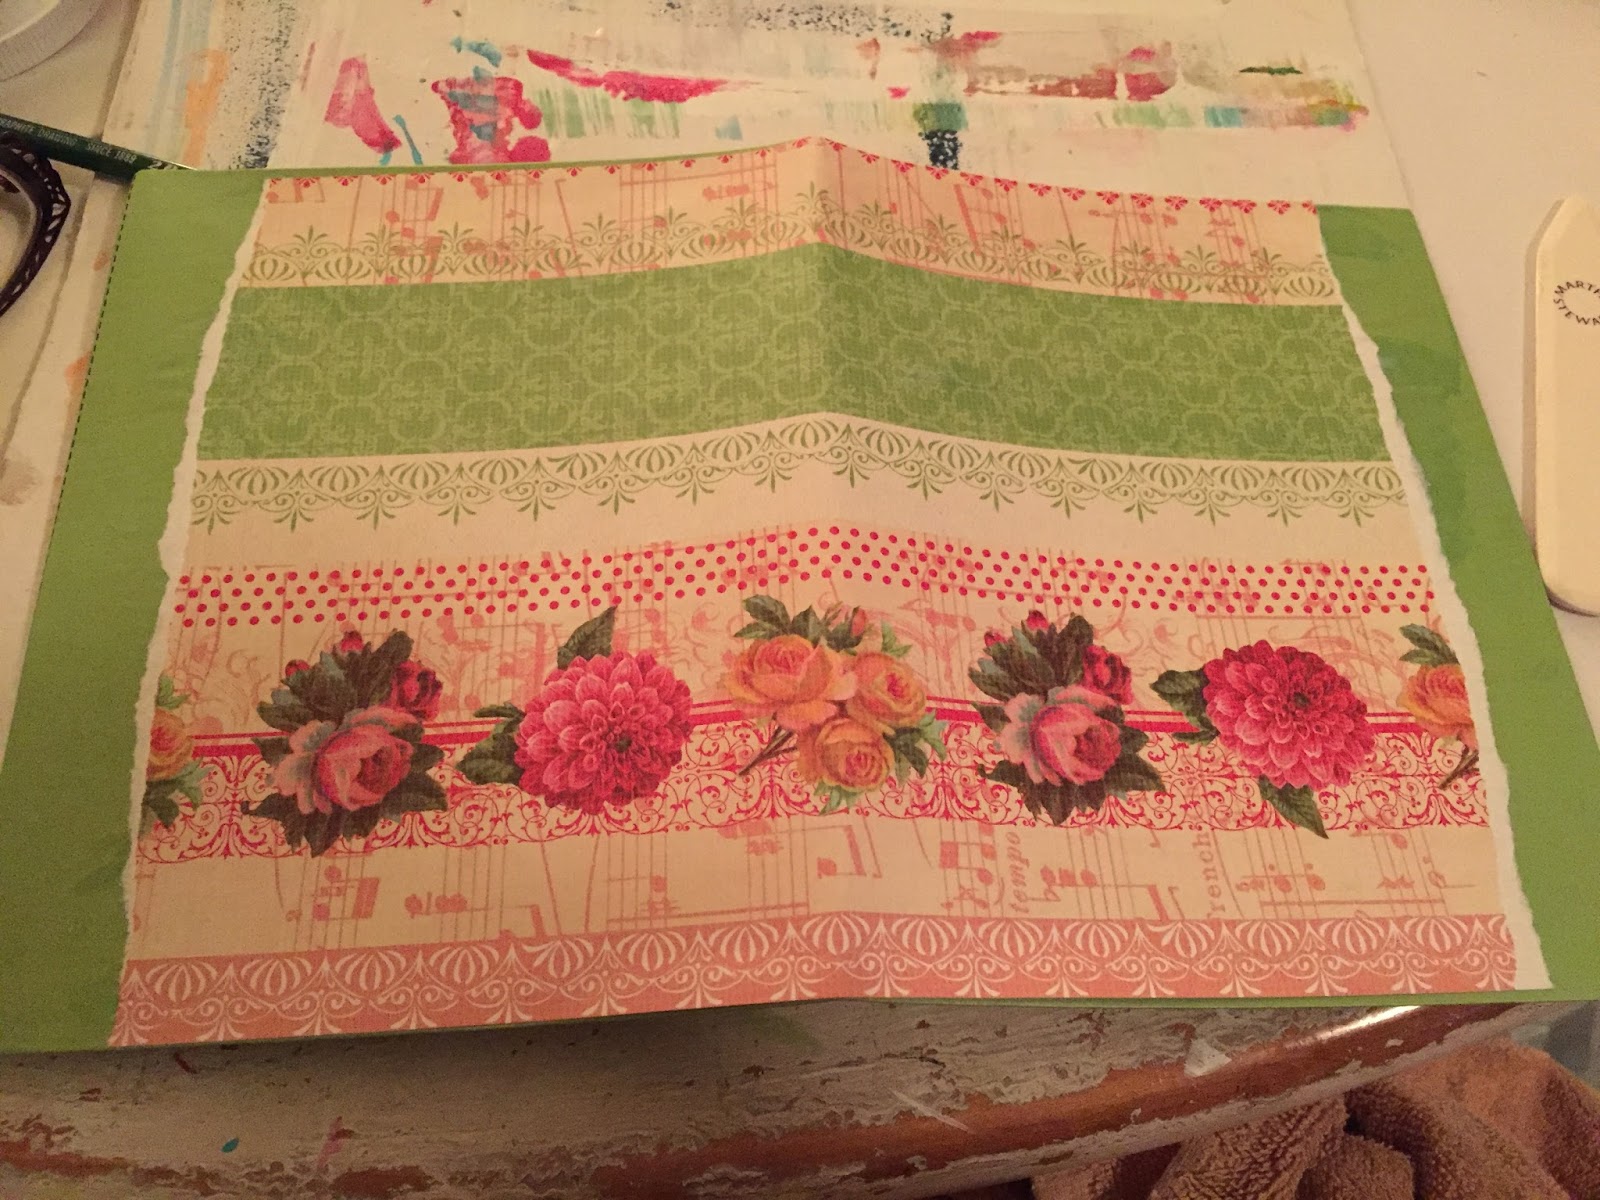
I chose a color that coordinated with my greeting cards for the cover, cut it slightly larger than the cereal box so I could wrap it around the edges and glued it to the front using Mod Podge.

Once I had it glued down I cut the corners as shown.

Let it dry a little bit and then use double sided tape to wrap the edges.

Here's what I've got.

I chose another cute paper than coordinated with my greeting cards, ripped the edges at the front and back edge and glued it down using Mod Podge.
Then used a simple white cardstock to cover the interior (remember my journal will get glued in here so you won't see much of it.

Alright, I've glued it in and used my Mod Podge container to help it keep its shape while the glue dries. For Part 2 I'd like to show you how I'm going to jazz up the interior, coming soon!


No comments:
Post a Comment